|
|
Post by Deleted on Jun 4, 2014 23:19:29 GMT -6
Since youll provide the figures i will do it for $150 that's including shipping back the figure to you with tracking and insurance, the materials I will use like epoxy, paint, paint sealer and glue. Then when shipping the figure I will include paint brush and 1 white Tamiya paint bottle.
I would really recommend that you should customize it, since you have already an idea about customizing. If you need help just hit me up and I can help you free of charge lol. So that you dont have to spend money for someone to do it and also you will learn a lot.You'll be surprise how your custom will turn out. When I sculpted my gogeta's upper torso I was like holy S**t I didn't know it turn out great(better than I expected).
next time i will try to take pictures of every step of my custom in progress and I hope it can give you some ideas and hope it can help you out a lil bit.
If you don't mind me asking, why dont you finish your customs?
|
|
|
|
Post by shifftymking on Jun 5, 2014 4:35:38 GMT -6
Gil to be honest I'm super duper lazy lol that and I have a kid and a soon to be wife plus full time job but I think more than anything I lack motivation once I can see the end result just like with these 2 which I have been wanting to finish for a long time but once I sit down to start working on them I either can't stop staring at the tv or having somethingeles come up like a 7yr old wanting me to do something with her. Plus I used to have a lot of time at night by myself when I had my old job at AT&T because I didn't have to go into work until around 930 at the earliest some days even latter so I could afford to sit up at night messing with my stuff without being bothered. But as u can see it's 630 am and I've been up since 5 because of work but atleast I get off at like 3-4 just in time to pick up my kid if the wife didn't beat me to it. Still more than anything I'm just lazy. 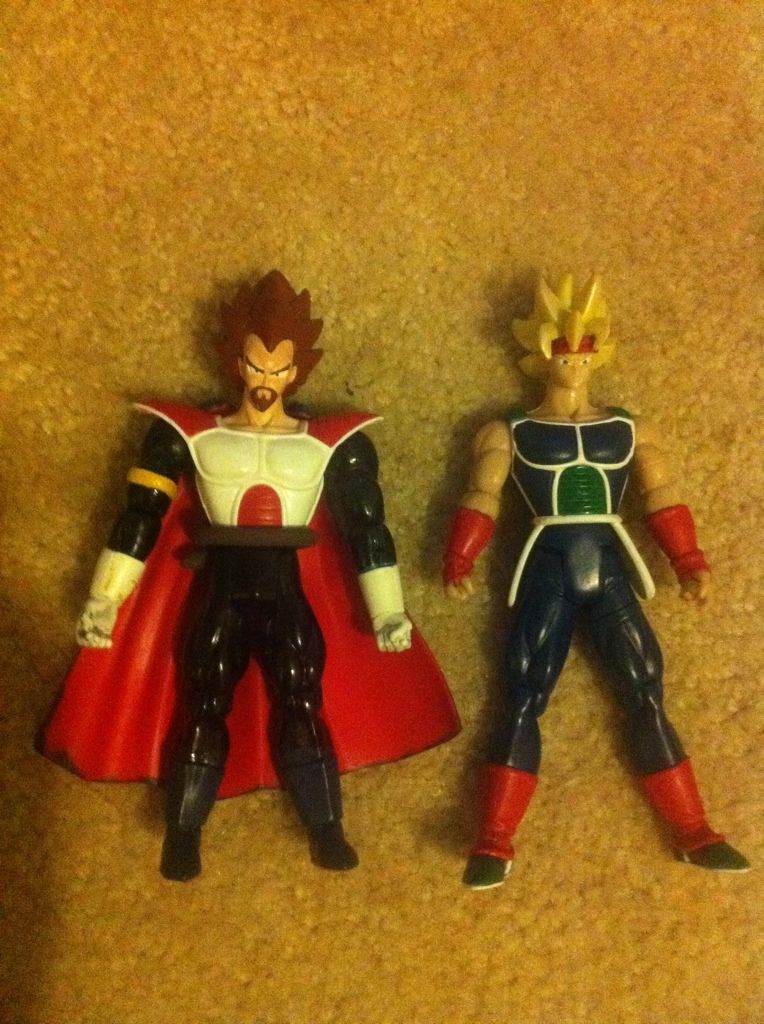 If u can gill it like to see some better pics of Ur gogeta's torso if u can and also do u use aves apoxie sculpt? Or the aves apoxie clay or a different kind altogether? There are other ?'s I have for u as well if u don't mind kind sir |
|
|
|
Post by ssj2dakota on Jun 5, 2014 4:43:52 GMT -6
Shiffty, that King Vegeta is super freakin cool. Just saiyan  |
|
|
|
Post by Deleted on Jun 5, 2014 13:21:19 GMT -6
Okay first of all I agree ^ comment about king vegeta.
It's understandable you have kid, priority first. Also the lazyness lol, if your not motivate you shouldn't work on something because the figure won't come out great. There's time when I get lazy and still work on my customizing and the figure don't come out good. I wasted so many figures because I can't concentrate on what I'm doing (good thing not the expensive figuarts, it's all marvel universe back then). Anyhow, I understand where you coming from, I may not have a kid but I understand being lazy, getting distracted or getting bothered.
|
|
|
|
Post by Deleted on Jun 5, 2014 13:26:29 GMT -6
Sorry that's the only closest picture of my gogeta that you can see his upper torso.
That is the apoxie sculpt I use. There is a lot of clay out there, different brant. There's tamiya putty, green stuff, brown stuff, apoxie fix it, and many more. I am not familiar on any of those except for the only one I use which is the apoxie sculpt. I have been using it since day 1 I started customizing. I heard about green stuff and brown that they are easy to work with on small details but I never really tried it.
Sent from my iPhone using Tapatalk
|
|
|
|
Post by shifftymking on Jun 5, 2014 15:46:29 GMT -6
Thanks buches for the kind words guys Thanks for the help Gil I use the same kind of apoxie I have a few more ?'s but please let me know if I'm getting on Ur nerves as I'm not trying to pester u. I'm just trying to get as much info as I can before I start to consider braking down that figuarts goku. #1 Are these the only type of paints thhat u use? 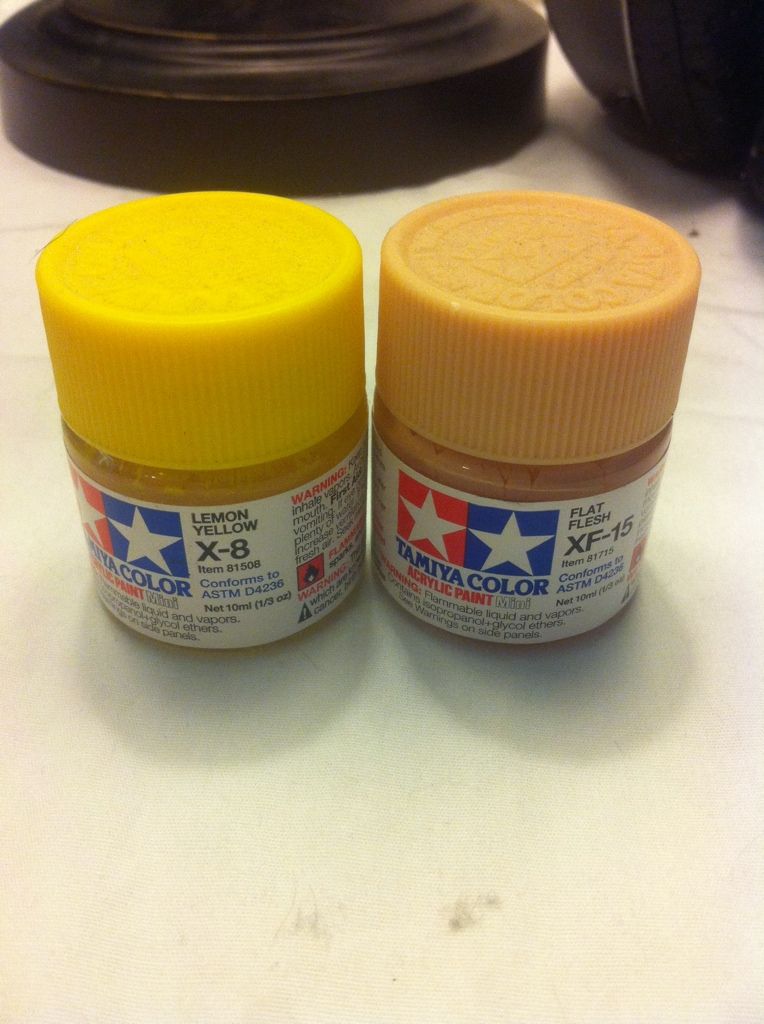 #2 what tools or tool did u use to shape gogeta's abb area and keep it so smoth without little pieces of clay wanting to come up with the tool u used. #3 how hard was the apoxie once u went to make the indentions for the abbs or lines on the chest. #4 how long did u wait after u mixed Ur apoxie to start sculpting. All for now buddy u have been a great help so far and I've also gone and read a bunch of stuff on figurerealm.com as they have some great tutorials on there. I numbered these questions so that when and if u chose to answer them (which I hope u do) all ull have to do is put the # and reply thanks again. I wanted to say to bran that there is a great tutorial on the hot glue head attachment method on figurerealm along with ones on dry brushing and stuff like how to avoid joint rub on Ur figures. Also lots of other cool little bits here and there One more comment this is a figure a guy I text made I forget how I meet him but y'all might remember me posting some little wood figure boxes that he did. I've tried to get him to join and he might be lurking but anyway he made this android 13 and I thought it was a good base minus the scale the head worked really well it's a jakks gogeta head. 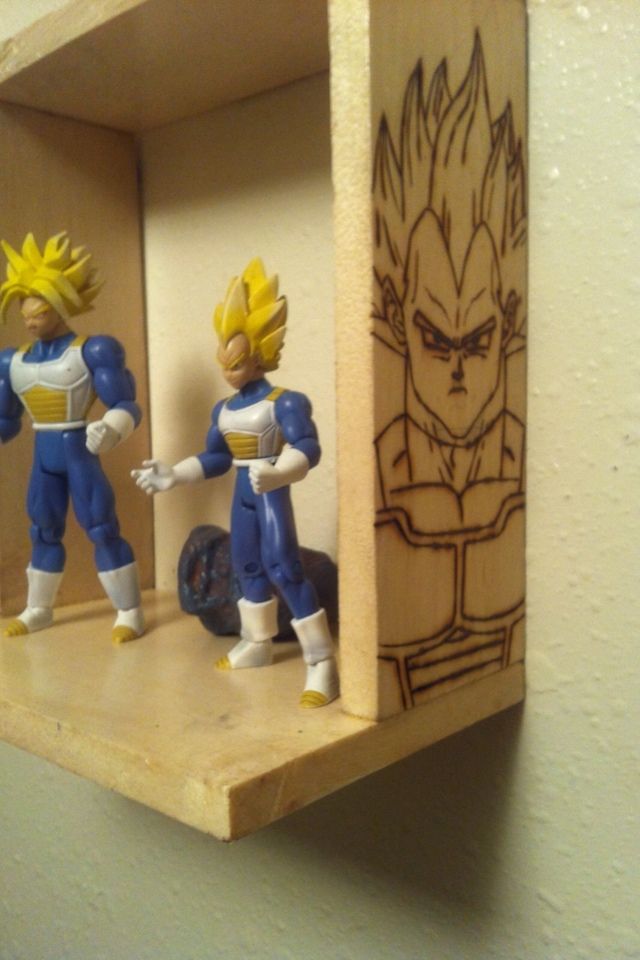 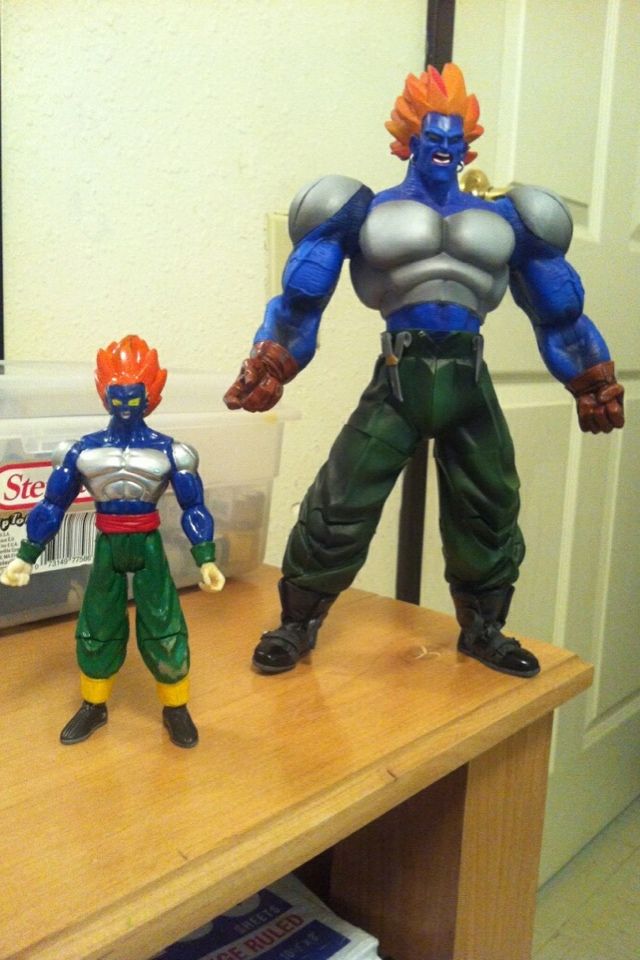 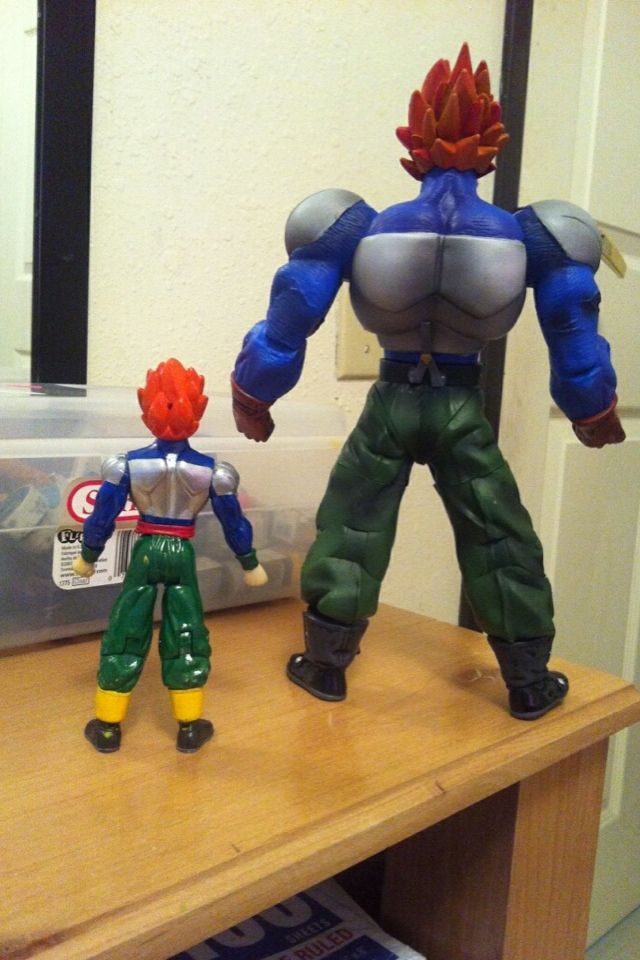 |
|
|
|
Post by Deleted on Jun 5, 2014 17:55:38 GMT -6
No not at all, I'm glad I can help. On your questions;
#1: that is the paint I use, I have never tried other paints. I heard from many people that testors model master acryl and games workshop are pretty good.
#2: I use my finger most of the times, x-acto knife and the pointy metal looking toothpick for making the muscle definition. Try the best you can to smooth the apoxie using your finger, wet your finger so you won't put any finger prints then use sand paper after the apoxie turns hard.
#3: as soon as you get the mixture of the apoxie you can start working with it (that's how I tought my self) maybe some people wait couple minutes till it turn a little hard enough, for them to work on the apoxie.
#4: the only way I can tell if it's a good mix is when u get uniform color (I don't know if that's the right word) for example my apoxie part A is white and part B is dark gray. When you mix both you should get light gray color. There's a tutorial that you have to mix for 2 minutes (ain't nobody got time for that) but seriously it doesn't have to be that long. Again just get that good mixture and proper color.
I am working on a different custom right now that doesn't require many upper body sculpting. But if and when I do, I will take picture step by step on how I do it. Just to give you some ideas.
I hope my answers make sense lol. Feel free to ask me questions anytime. There's a lot of good customizers here and from other forum that you can get advice and maybe they can give you an easier way of customizing. That's where I learned customizing from figurerealm on how to guide customizing and YouTube lol.
|
|
|
|
Post by shifftymking on Jun 6, 2014 7:06:19 GMT -6
Thanks again Gil. Your the man. I've used apoxie on a few things but nothing major like what making that gogeta would take. But I will say I'm curious to see if I could pull it off I really think I could but I'd need to be commited from start to finish.
#1 Do u happen to have or use an airbrush?
#2 what kind of primer do u use or what color and kind of 1st base coat do u use on Ur figuarts figures?
#3 Do u use the flat black base followed by silver to make Ur paint stand out or do u use white then whatever color Ur actually painting the figure?
|
|
|
|
Post by Deleted on Jun 6, 2014 11:41:41 GMT -6
#1 No I do not own any airbrush, but I do want to invest one. Its just that I don't have a work place/table, I work on the floor.
#2 attach picture is the bran I use for the primer. That picture is a sealer but they have a primer. I rarely use primer on my figure, you just have to wash your figure with dish soap before painting.
#3 i really suck at painting, anyways I prefer using flat colors, I dont like the shiny look when using just regular color. So it all depends on what you think looks the best, if you like flat color or that shine color. i don't use any first base color, I just use the color paint I need. For example If i want to paint red, I use red. Thin layer dilute it with water to get thin consistency (milk consistency) It may takes me couple layers of paint but it doesn't come out thick.
I also use testors sealer in bottle, you just brush the sealer to the area you want it then apply the paint. But of course you have to wait till the sealer dry up. I use the water base sealer, there's oil base and you don't want oil base sealer on plastic figures. I use the bottle sealer on joints, since it's water base it only requires thin layer.
I use glue also to protect the paint, I only apply glue on any contact/ places where it rub to each other. For example the arm/shoulder rub on the body, so I apply thin layer of glue underneath so when the arm move it wouldn't scratch the paint. Then I use sealer in the end to remove the shine. I use flat sealer. Just be careful using glue, safety first. Also try not to put glue the joints.
Since your making gogeta you don't need to paint his arm you just have to mix the paint to get the matching skin tone to paint the chest, abs upper body. The only thing you have to worry is the joint on his knee because gogeta's pants will be white color. As you can see when you bend your figuarts the lower pants rub on the upper pants. What I do is dremel that part(pointy part) just enough to when you bend the knee the pants won't rub. The second picture is my only picture that i can give you as an example. look at the lower pants, normaly that part is pointy so I dremel it. I dont know if you can tell the difference from your figuarts. After you dremel, sand it to make it smooth then assemble/connect to the upper pants, paint then apply thin layer of glue. I use the brush glue btw. Hope this help. Also while your at it sand/dremel the knee joint. Hope this make all sense. But this is the stuff I use and work on my customs.
Sent from my iPhone using Tapatalk
|
|
|
|
Post by Deleted on Jun 6, 2014 12:12:26 GMT -6
When I get home tonight I will dremel the lower pants and I will show comparisson. So you get the idea what the heck I'm talkin about lol.
|
|
|
|
Post by shifftymking on Jun 6, 2014 18:22:37 GMT -6
Thanks again Gil Ur the best man.  and I know what Ur talking about with those goku knees as both of my ss gokus get hung up on that over hang at the knee so I can only imagin how bad the paint rub would be if u painted it lol. Also i can see y u dont want to paint dbz figures with a gloss or shiny paint job as they didnt look like that in the anime. Hey buddy what exact tamiya paint colors did u use on gogetas skin and cloths?? I honestly thought u repainted the arms and face on urs because all the skin tones match so well u really nailed it. I'm super excited I went to wallymart with my girl to get a few things and I saw where they had this dremel bit set on sale for $11.99 I think it was around $17 not on sell but I really needed these little diamond point burs. I can't wait to use the small one to shave down the joints on my king vegeta and bardock so I don't have to worry about the paint coming off the joints everytime I move them. 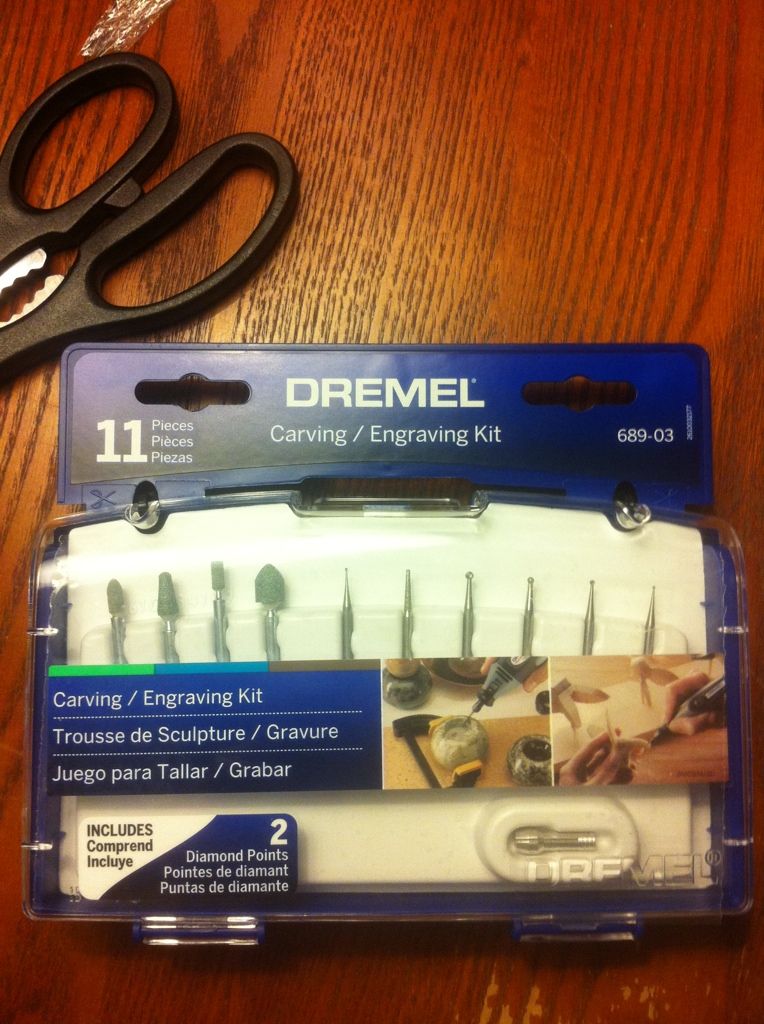 |
|
|
|
Post by Deleted on Jun 6, 2014 20:00:42 GMT -6
Thanks for showing that picture, I need to get one of that kit. I use flat flesh, little but of flat red, and flat white. I think I added little bit of yellow I'm not sure. Try to experiment with flat flesh, flat red and flat white. Try to experiment the mixture then put a small dot on the figure using the brush to match the color. If its dark add lil white until you get the color. If its lighter color, add a little flat flesh. If you want to match the shading you can put lil more red. Just experiment and try the best you can to match the color.
|
|
|
|
Post by Deleted on Jun 6, 2014 20:01:16 GMT -6
Thanks for showing that picture, I need to get one of that kit. I use flat flesh, little bit of flat red, and flat white. I think I added little bit of yellow I'm not sure. Try to experiment with flat flesh, flat red and flat white. Try to experiment the mixture then put a small dot on the figure using the brush to match the color. If its dark add lil white until you get the color. If its lighter color, add a little flat flesh. If you want to match the shading you can put lil more red. Just experiment and try the best you can to match the color.
|
|
|
|
Post by Deleted on Jun 7, 2014 0:07:45 GMT -6
First picture is a comparison, the left side is the one I dremel and the right side is not dremel.
Second picture is how it look when assembled. Both lower pants top part has been dremeled.
Third picture is how it look from the back.
Fourth picture is how it look from the side, you can see that gap now. So the top portion of the lower pants is not rubbing onto the upper pants.
Sent from my iPhone using Tapatalk
|
|
|
|
Post by Deleted on Jun 7, 2014 2:02:07 GMT -6
First picture is a comparison, the left side is the one I dremel and the right side is not dremel.
Second picture is how it look when assembled. Both lower pants top part has been dremeled.
Third picture is how it look from the back.
Fourth picture is how it look from the side, you can see that gap now. So the top portion of the lower pants is not rubbing onto the upper pants.
Sent from my iPhone using Tapatalk
|
|